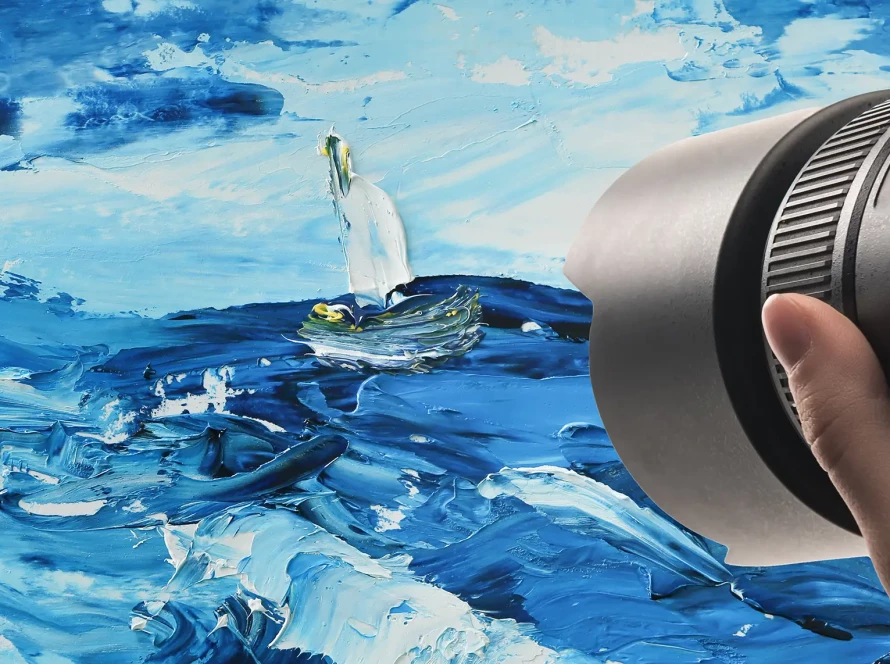
There’s a certain feeling when you finish a piece—when the last mark is down, the varnish dries, and it finally feels ready. But the moment you go to photograph it, things shift. The colors flatten. Shadows creep in. That soft texture you worked so hard to build disappears.
It’s frustrating, and familiar.
Because while creating art takes time, artwork photography asks for something just as deliberate: light.
Why Light Is the First Thing to Get Right
Good art can be misrepresented by bad lighting. It happens all the time.
Harsh shadows, glare, washed-out whites, or overly saturated tones can all subtly change how the work is perceived. Sometimes it’s enough to cost you a gallery opportunity. Sometimes it just feels like your own work isn’t being seen clearly.
The goal of lighting for art photos isn’t flashiness—it’s fidelity. You’re trying to recreate, as faithfully as possible, what a viewer would experience standing in front of the real piece.
That’s why professional photographers who specialize in fine art photography focus on subtlety. They’re not there to dramatize your work. They’re there to get out of the way and let the piece speak.
Start with the Basics: Balanced, Diffused Lighting
You don’t need an expensive studio to get clean, professional-looking results. But you do need a lighting setup that’s intentional.
The most reliable option?
Two soft lights placed at 45-degree angles from either side of the artwork. This helps reduce glare and create even lighting across the surface. It’s a setup that’s been used for decades because it just works.
Other quick wins:
- Use diffused light—softboxes, umbrellas, or even DIY diffusion panels like white sheets or parchment paper
- Avoid overhead lighting unless it’s been softened or bounced
- Never mix lighting temperatures (e.g., daylight and warm bulbs)
This kind of setup is especially helpful if you’re photographing multiple works and need consistency across your portfolio.
The Trouble with Natural Light
Natural light can work—but it’s unpredictable.
North-facing windows are ideal because the light is consistent and cool throughout the day. South-facing light can change dramatically hour to hour. And cloudy days often give you the softest, most diffused illumination.
Still, relying on the weather or window placement limits you.
That’s why many artists eventually transition to studio lighting. Not because they want to become photographers, but because they want control. Reproducibility. Clean, consistent documentation of their work, no matter the season or time of day.
Don’t Let the Camera Decide for You
Even if you’re not using a DSLR or mirrorless camera, you can still take control.
Auto mode on most devices—especially smartphones—tends to misinterpret art. It might shift white balance, overexpose whites, or enhance saturation in ways that don’t reflect the real work.
To avoid that:
- Use a gray card to manually set white balance
- Shoot in RAW (if possible) for better post-processing flexibility
- Lock exposure and focus manually
- Keep the piece centered and level—distortion corrections only go so far
These photography lighting tips may feel minor, but together they protect your visual integrity.
Respecting the Medium
Not every artwork needs to be lit the same way.
Graphite drawings do well with soft, even light to avoid harsh pencil reflections. Paintings with thick texture or impasto benefit from angled lighting to enhance surface detail. Sculptures? They demand shadow play—just enough to define form without swallowing it.
That’s why no single guide fits every situation. Light techniques for art are contextual. They adapt to material, shape, and purpose.
The more you understand what your work needs to be seen clearly, the more control you’ll have over how others experience it.
When to Bring in a Professional
You can get a lot right on your own. But at some point—especially if you’re submitting to galleries, building a portfolio for print, or selling limited edition prints—it might be worth working with a professional photographer.
They bring more than gear. They bring experience. An understanding of color profiles, glare management, camera alignment, and light balancing. It’s a skillset that saves you time and gives you peace of mind.
More importantly, it honors the work you’ve already done.
Let the Image Carry the Work—Nothing More
Your goal isn’t to make the art look “better” in a photo. It’s to make it look true.
Clean, consistent artwork lighting ensures your work doesn’t lose its voice the moment it leaves the studio.
Done right, the photo becomes invisible. The viewer sees the piece—and nothing else.
That’s when the light is doing its job.